Table of Contents
Often we have to deal with the glassware and wood artefacts. The hassle of getting through your household work sometimes can get in you some painful trouble.
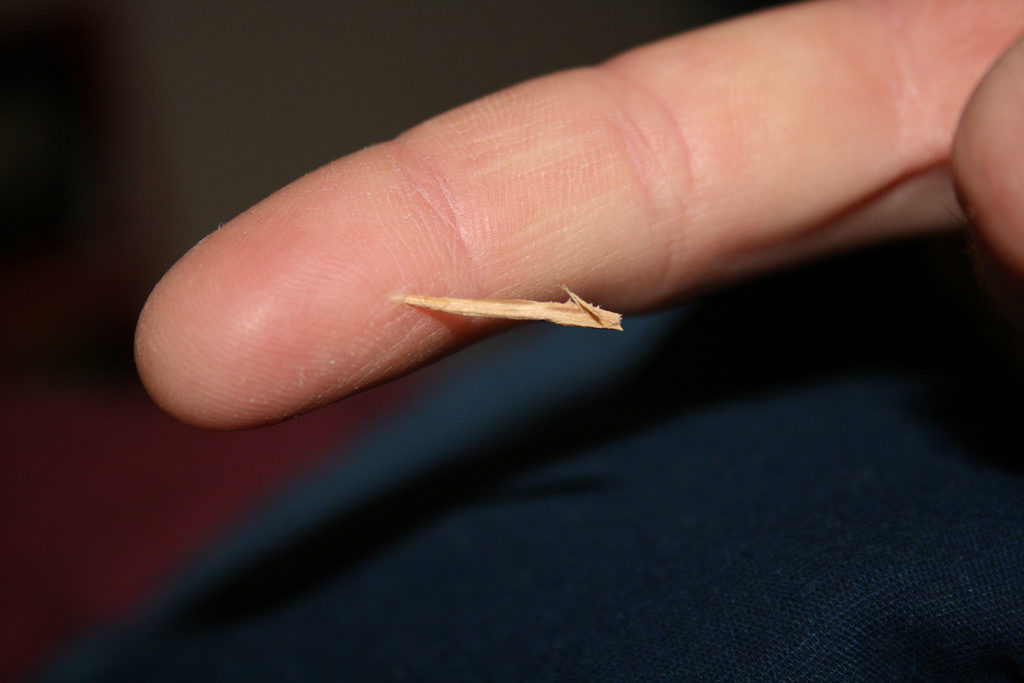
Yes, we are talking about those splinters and pricks, which can make your day uncomfortable at their best and utterly painful in the worst case scenario. With all the naughty kids running around in the house should be enough to make you worried.
There is an easy way to remove those invaders, using the tweezers and pins. Unfortunately, it is only for those brave souls. So maybe you should know about tricks that will make the business easy.
With the grace of the baking soda splinter, you will be able to get rid of the pain with tranquillity. Stay with us for the tips with this Baking Soda Splinter guide, but before that, you should know why splinters can be the real beasts and why you should not underestimate them!
Splinters: the underestimated beasts
Regardless of what you may think a splinter is an intruder for your body, be it a cactus’ splinter or a glass piece. So in reaction, the body triggers a series of immunity reactions.
The splinters allow an entrance to the external organisms like bacteria and fungus to enter your body. Most likely the splinter is already loaded with those things, so here is why you should be worried about it.
The result can be pain, swelling, redness or something even worse. For instance, the thorns of the flower of love “Rose” have a fungus named Sporothrix, which spreads in an organized manner, so note that flower lovers!
You will get a lot of infections in the bunch with the splinters. Sometimes it may result in something serious as blood poisoning! So be warned and know the steps on how to remove splinters with the baking soda.
7 Steps to Remove the Splinter with Baking Soda
1. DO NOT Squeeze! :
No matter how much you may be suffering or how much furious you may be getting at that splinter, DO NOT Squeeze. It will only make the matter worse for you.
Squeezing will not only make the splinter go deeper but may also break it into smaller bits. The broken pieces may penetrate even deeper in the skin and make the matter worse for you. Again we would like to say DO NOT Squeeze it.
2. Clean the Area with Soap and water properly to disinfect:
It must be your priority in the case of an open wound to clean the affected area thoroughly. Since there will be all sorts of microorganisms that will be eager to spread the love. This will wash off all the unknown elements of the affected area.
Then make the area dry with a paper towel.
Do keep in mind that the fungus needs moisture to grow, so make the area dry as much as you can.
3. Notice the splinter
We will be using the baking soda to swell the skin which will push the splinter out of the skin. So you need to make sure that the splinter you are dealing with is small.
As this method works best with only the small splinters, there are some methods which are more effective in case of the larger splinters. Since the large splinters can cause more bleeding so you should be more attentive and careful in their case.
4. Prepare the Baking Soda Paste
Now you have to prepare the baking soda paste, which should be thick enough for the effective swelling.
The best thick paste can be made with a ¼ teaspoon of the Baking Soda and the little water.
The thick paste will help you to proper swelling and hence easier removal of the splinter.
5. Applying the paste
Now that you have prepared your paste you need to fetch a bandage. Apply the paste over the bandage thoroughly. Place the bandage gently over the splinter.
6. Getting rid of the splinter
All you have to do is wait for about one day. Take the bandage off.
If you will be able to see the splinter sticking out then a pair of tweezers must be enough to effortlessly pull out the splinter without hurting your skin.
If you feel it sticking out but can barely see it, then it should come out itself naturally with a wash. Do consider on inspecting the affected area again.
Just in case if the splinter still remains inside then try out the steps 4 to 6 again. You should be able to get rid of the splinters in a couple of times.
If not then you should seek medical attention.
7. Using the Topical Anesthetic
A topical anaesthetic can be used to make sure that you avoid any troubles while pulling out the splinter.
After you are confident that you are ready to pull out the splinter, apply the topical anaesthetic around the affected area.
This ointment will make the affected area numb after a couple of minutes. Then you will be able to pull out the splinters without any pain.
Congratulations you have taken out the splinter successfully.
Some More Tips for Ensuring your Safety
- Apply an antibiotic ointment later to make sure that you will be able to prevent any sort of infection.
- Sometimes it may be possible that there may be some amount of bleeding after removing the splinter. Just press the area where there was a splinter. This should make the muscles together and stop the breeding. You can also apply some Band-Aid for further security.
- Just in case there is some heavy bleeding after removing the splinter seek some medical attention as early as possible. There are chances of some serious infections like tetanus.
So that was all with the Baking Soda guide. Please do make sure that you follow all the steps carefully. If you have any doubts then please do not hesitate in seeking some medical advice.


