Table of Contents
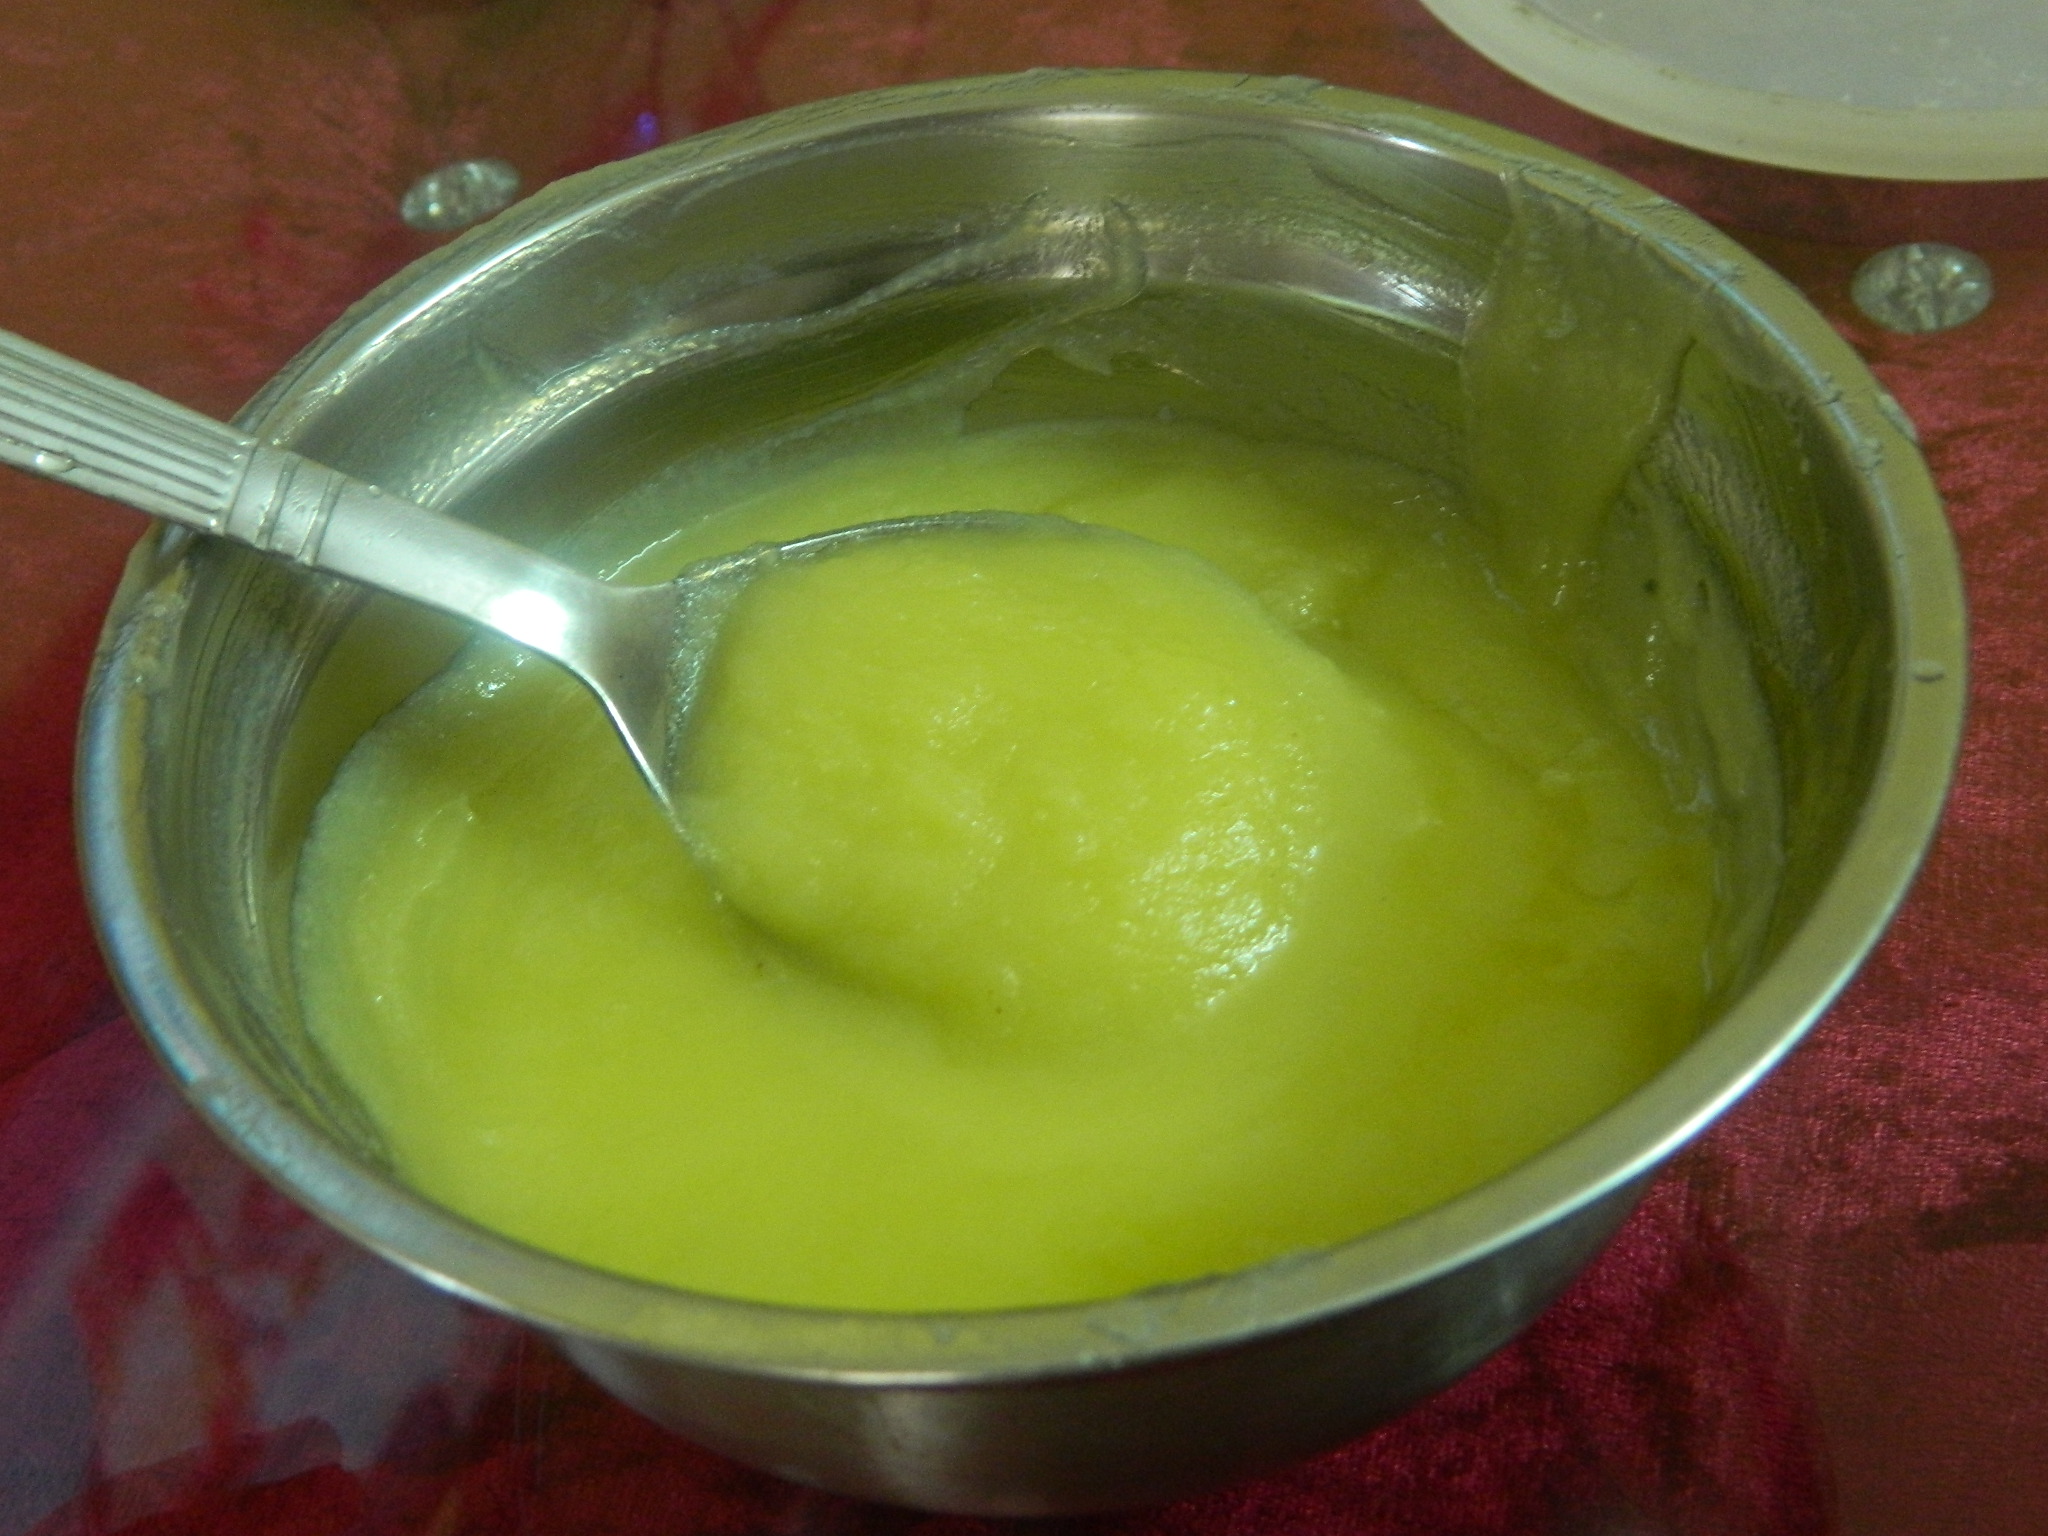 Ghee is basically clarified butter and pure fat. It is like butter except all milk solids and water has been removed. Home made ghee is simple, quick and easy to make. Not only it will be going to save few bucks from your wallet but is a healthier option than packed ghee sold in market. Ghee is rich in healthy fat-soluble vitamins such as vitamins A, D, E, and K.
One does not need tonnes of things in the armamentarium to make ghee. All you need to have is just stored milk cream or malai, a blender to blend the cream, a heavy based utensil, a large spoon to stir, fine messed steel sieve and glass jars to store your ghee.
Also read: How to store desi ghee at home?
So, here we go to make our own ghee at home.
Two methods of Making Ghee
- First one is from collected milk cream for several days. Then making butter out of it and then making ghee.
- In second method we can buy butter from market and make ghee out of it.
How to make your own “Home made ghee”?
Step 1
Take a container and add cream to it. Also add some hot water to melt cream.
Step 2
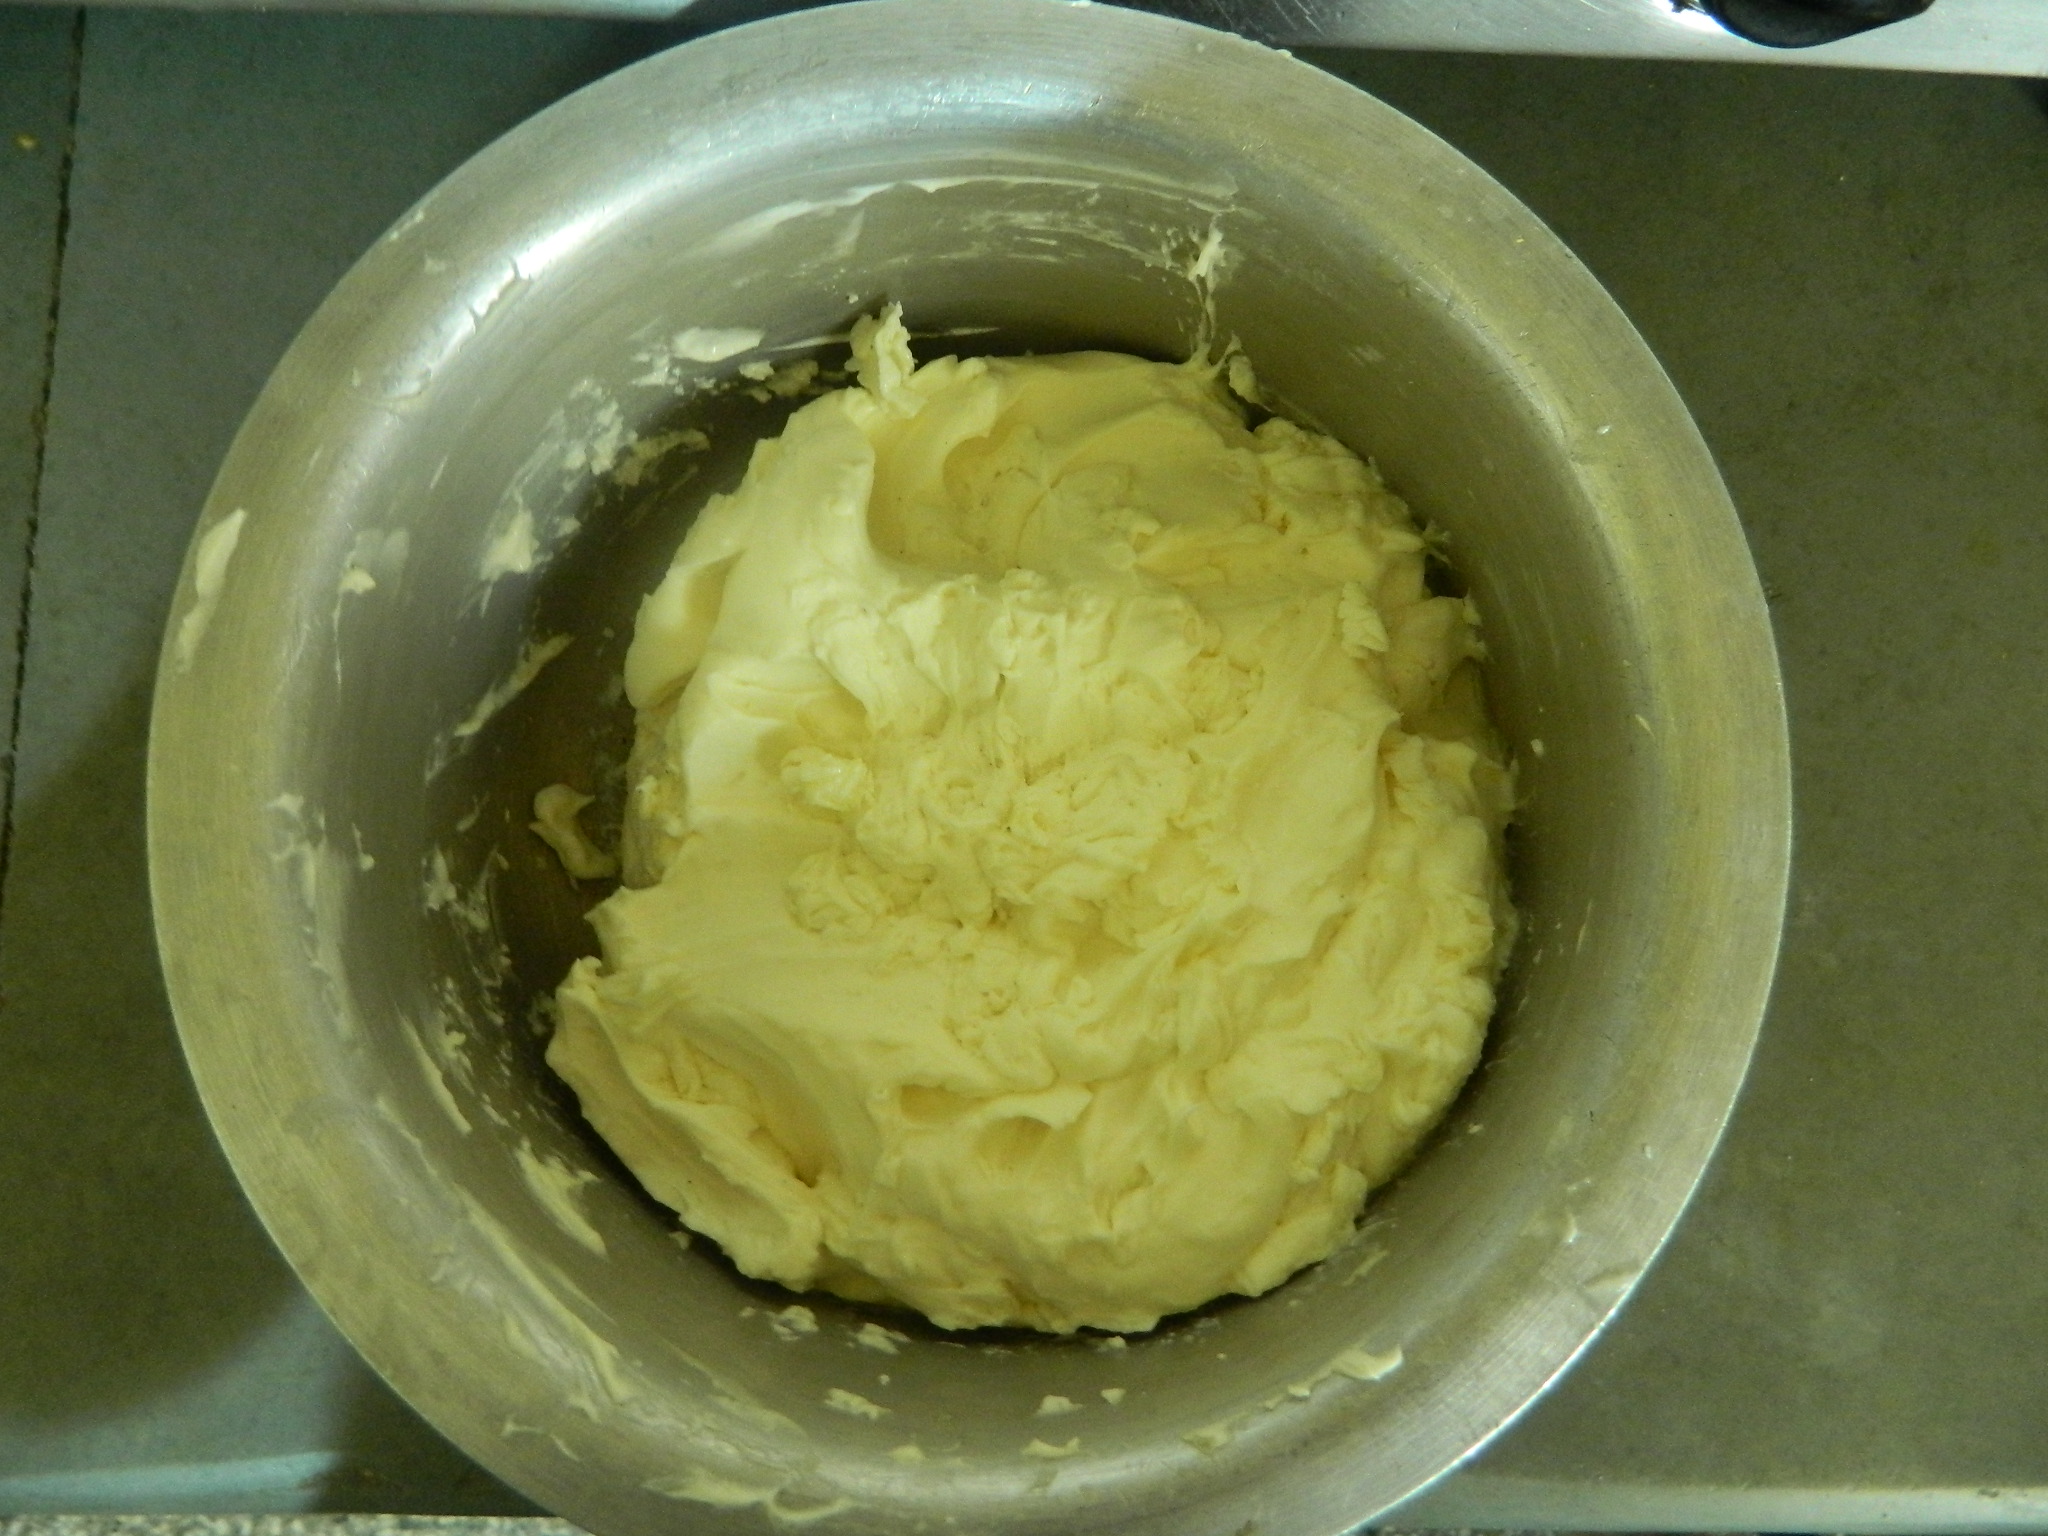
Transfer contents from the container to blender jar, blend till butter or makkhan separates. Add few ice cubes. Let the ice melt.Cold water helps to separate butterfat from buttermilk.You can use this ghee up to 8 to 10 months.
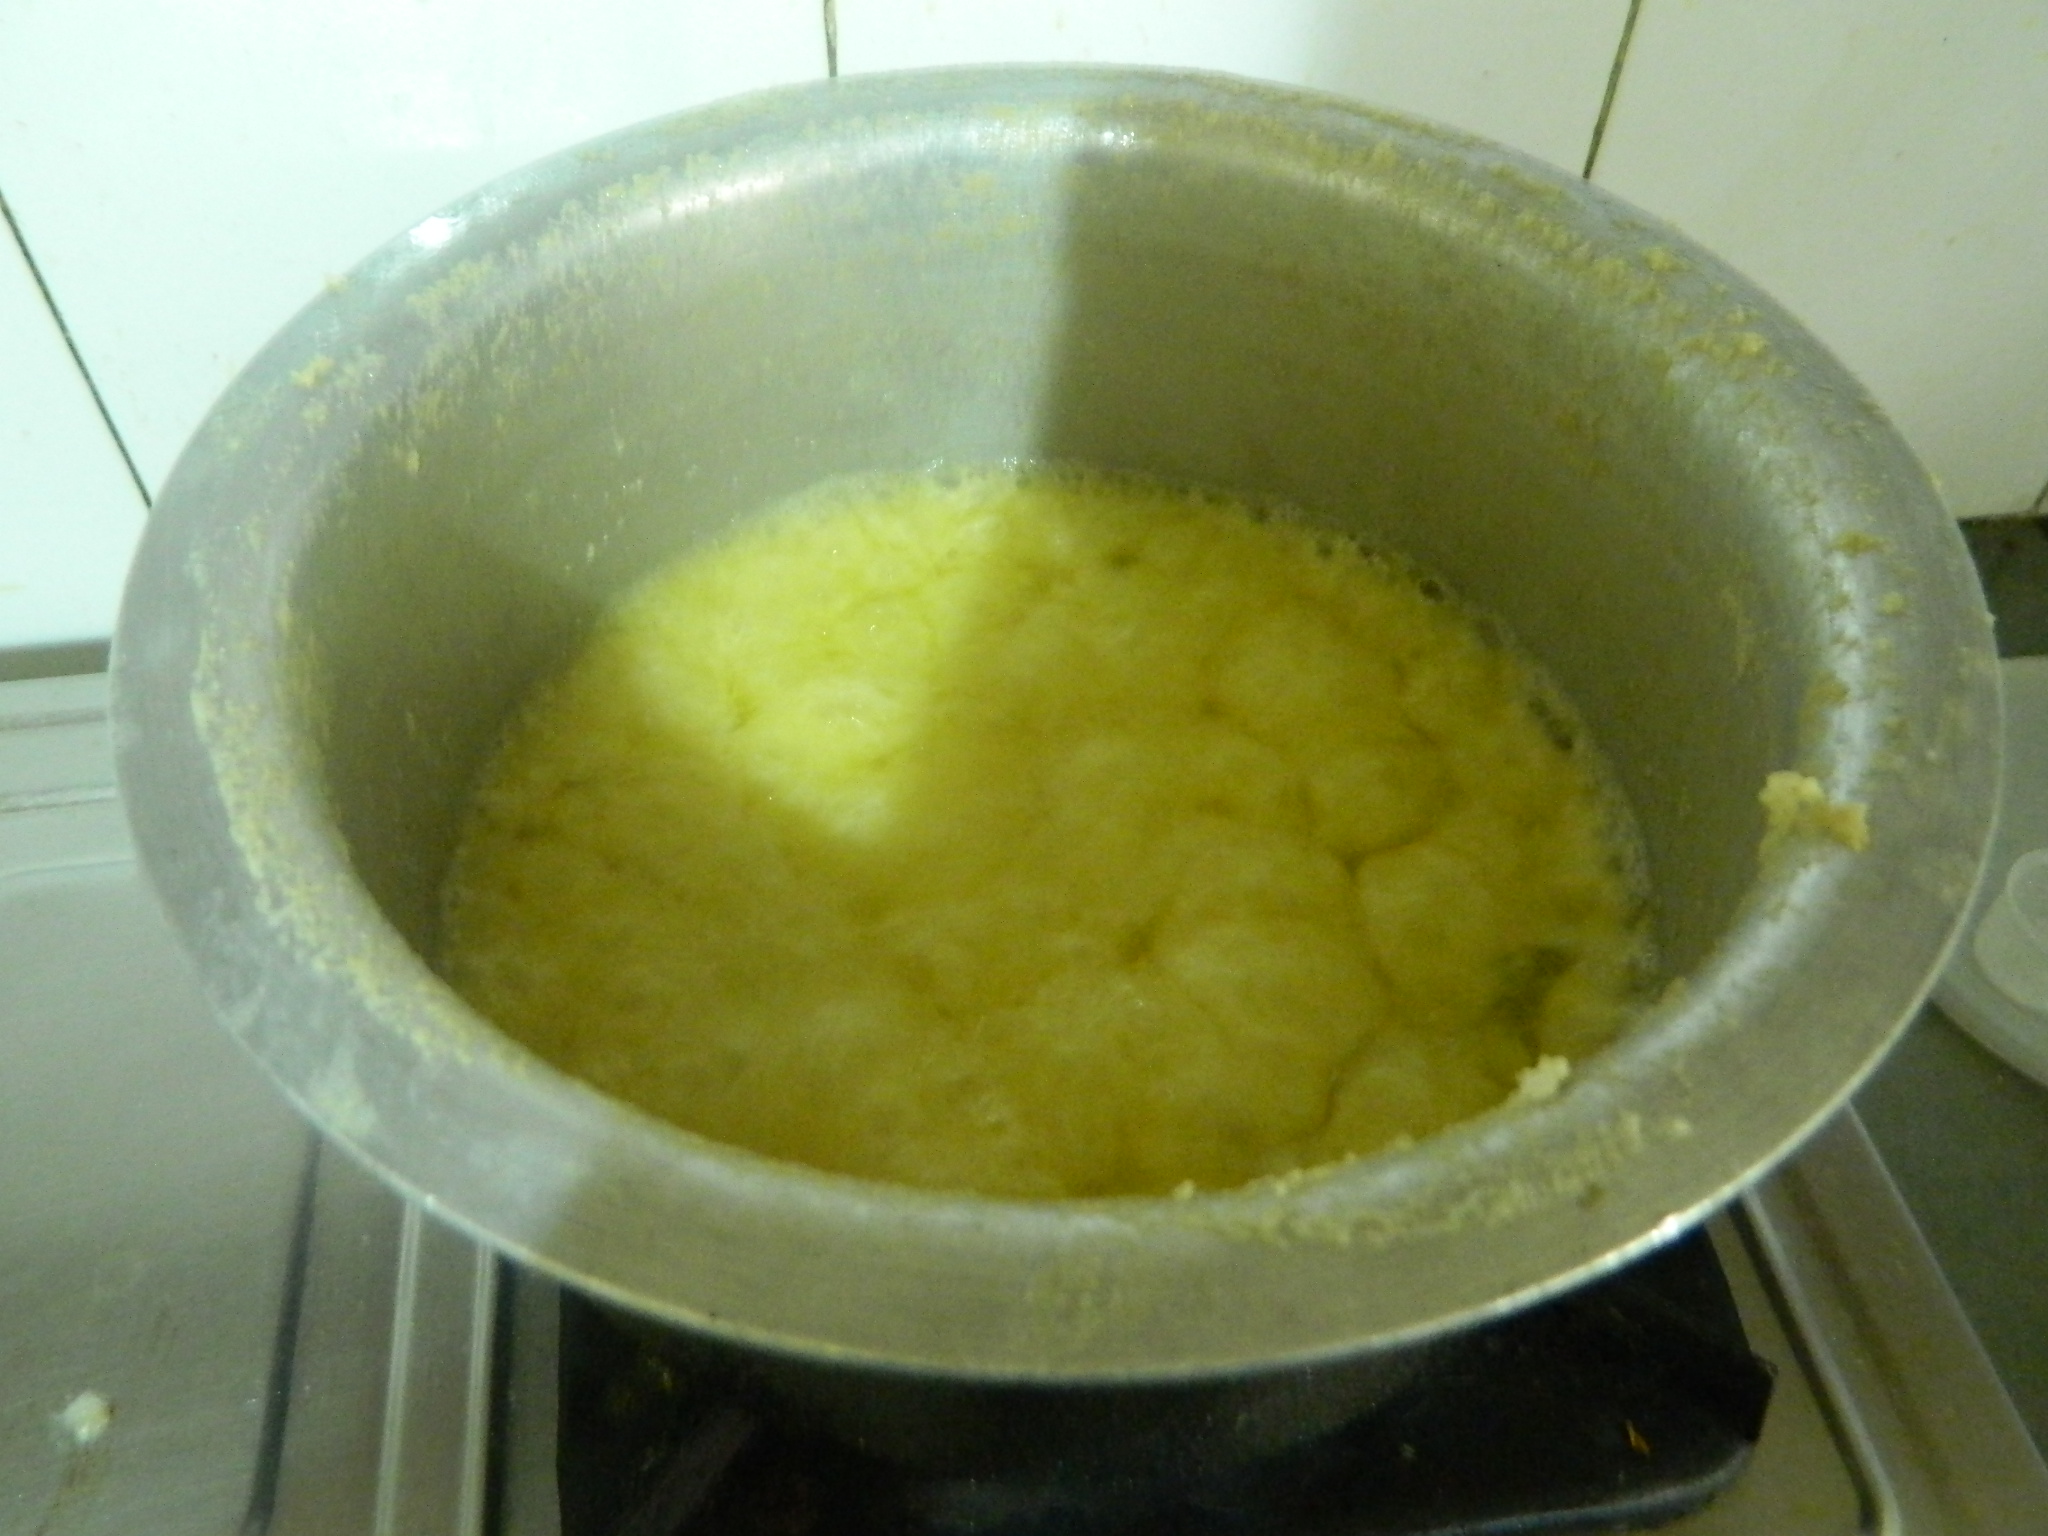
Take a heavy base utensil, put butter into it and set to melt over medium heat. Keep stirring it gently from time to time until your butter starts to simmer. Once it simmers turn the heat down to medium-low. You will see following stages in the transition from butter to ghee.
There are 5 stages in this step
- Stage 1
Initially a thick, white foam start to form at the surface. - Stage 2
Bubbles emerge from thick foam, increasing in size and number. As the bubbling increases, foam will become thinner and the bubbles will become bigger and clearer. - Stage 3
Milk solids will start to curdle and attach the sides of the pan.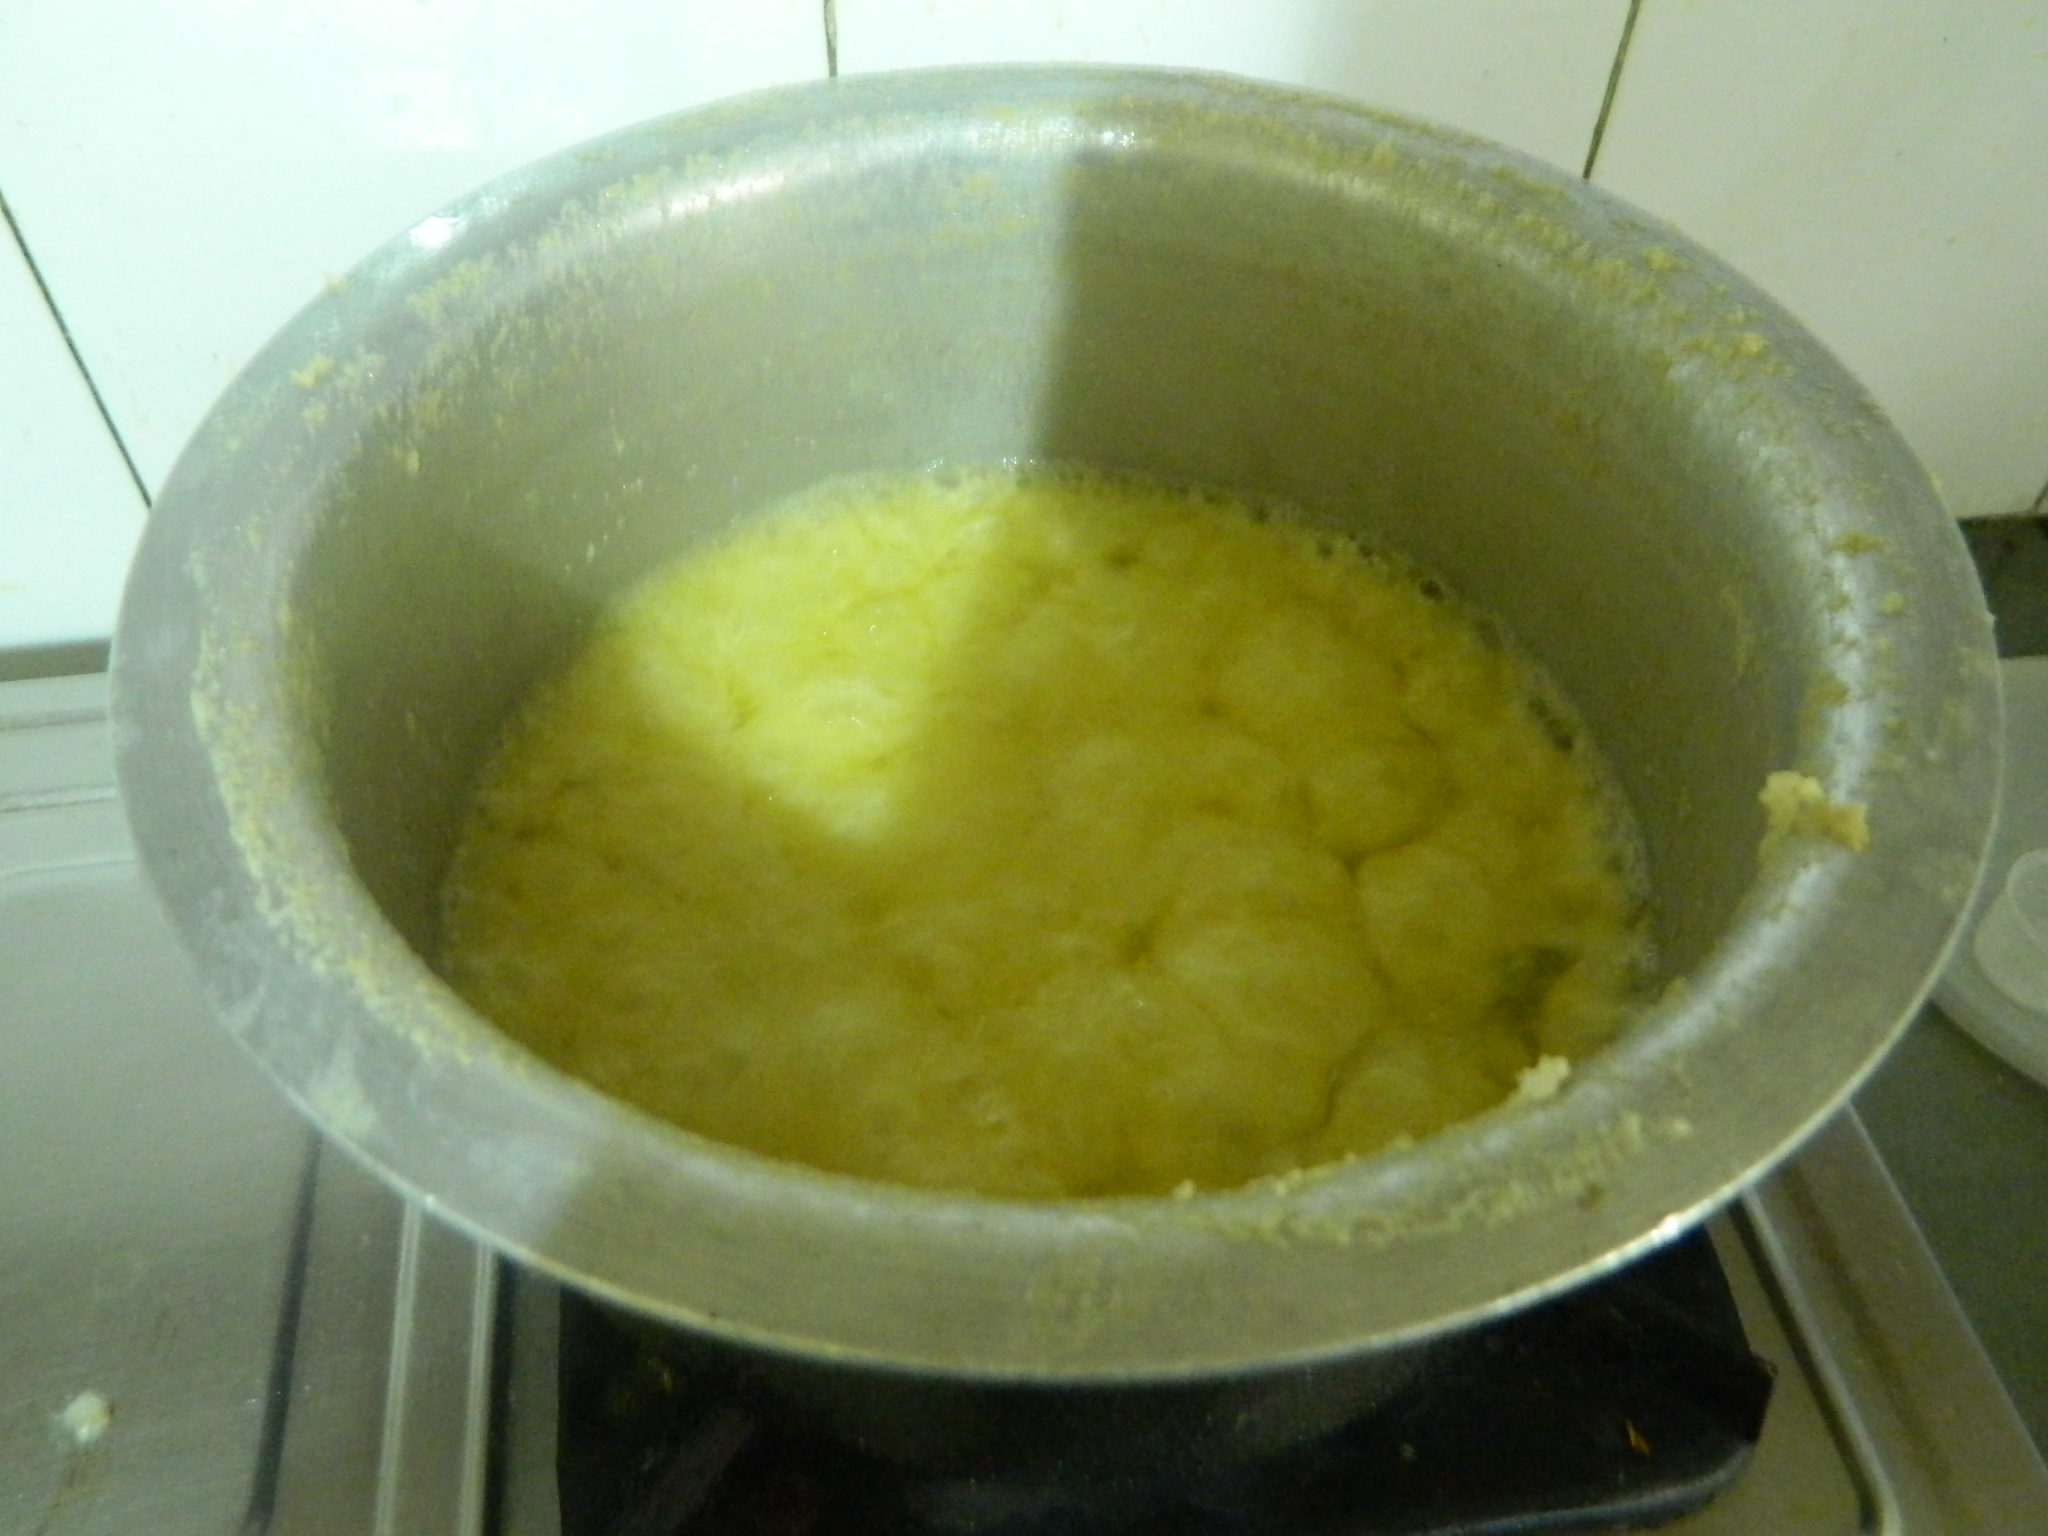
- Stage 4
With sinking of milk solids sink to the bottom, butter is beginning to clear up. and will start to take a nice golden coloration. Milk solids begin to brown.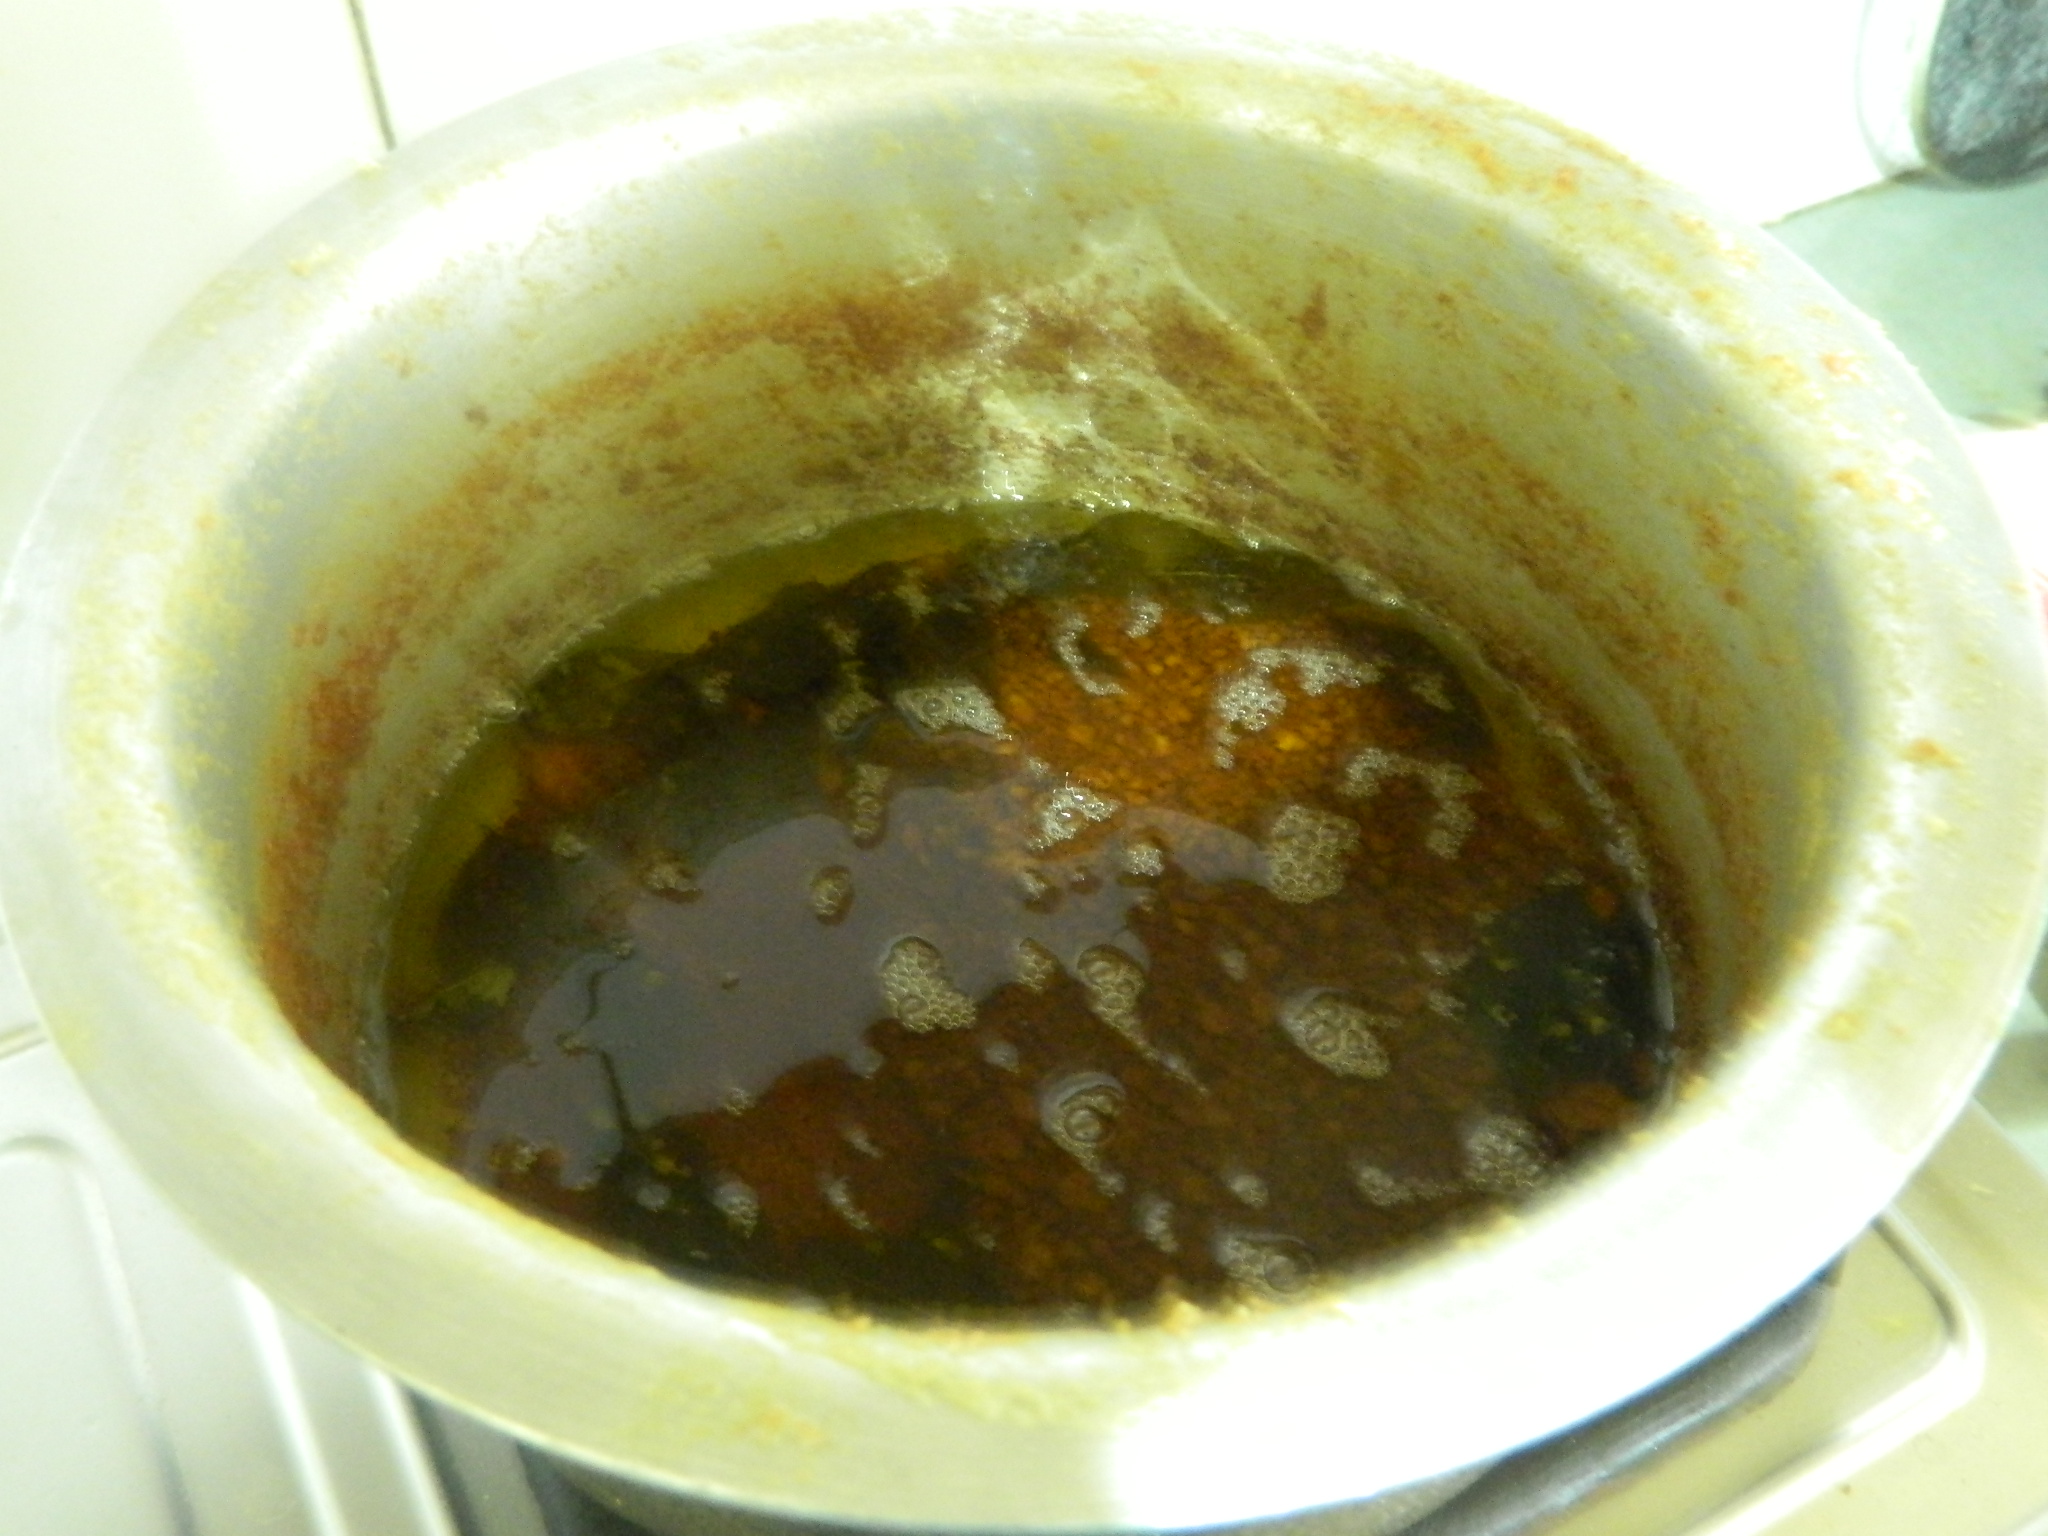
- Stage 5
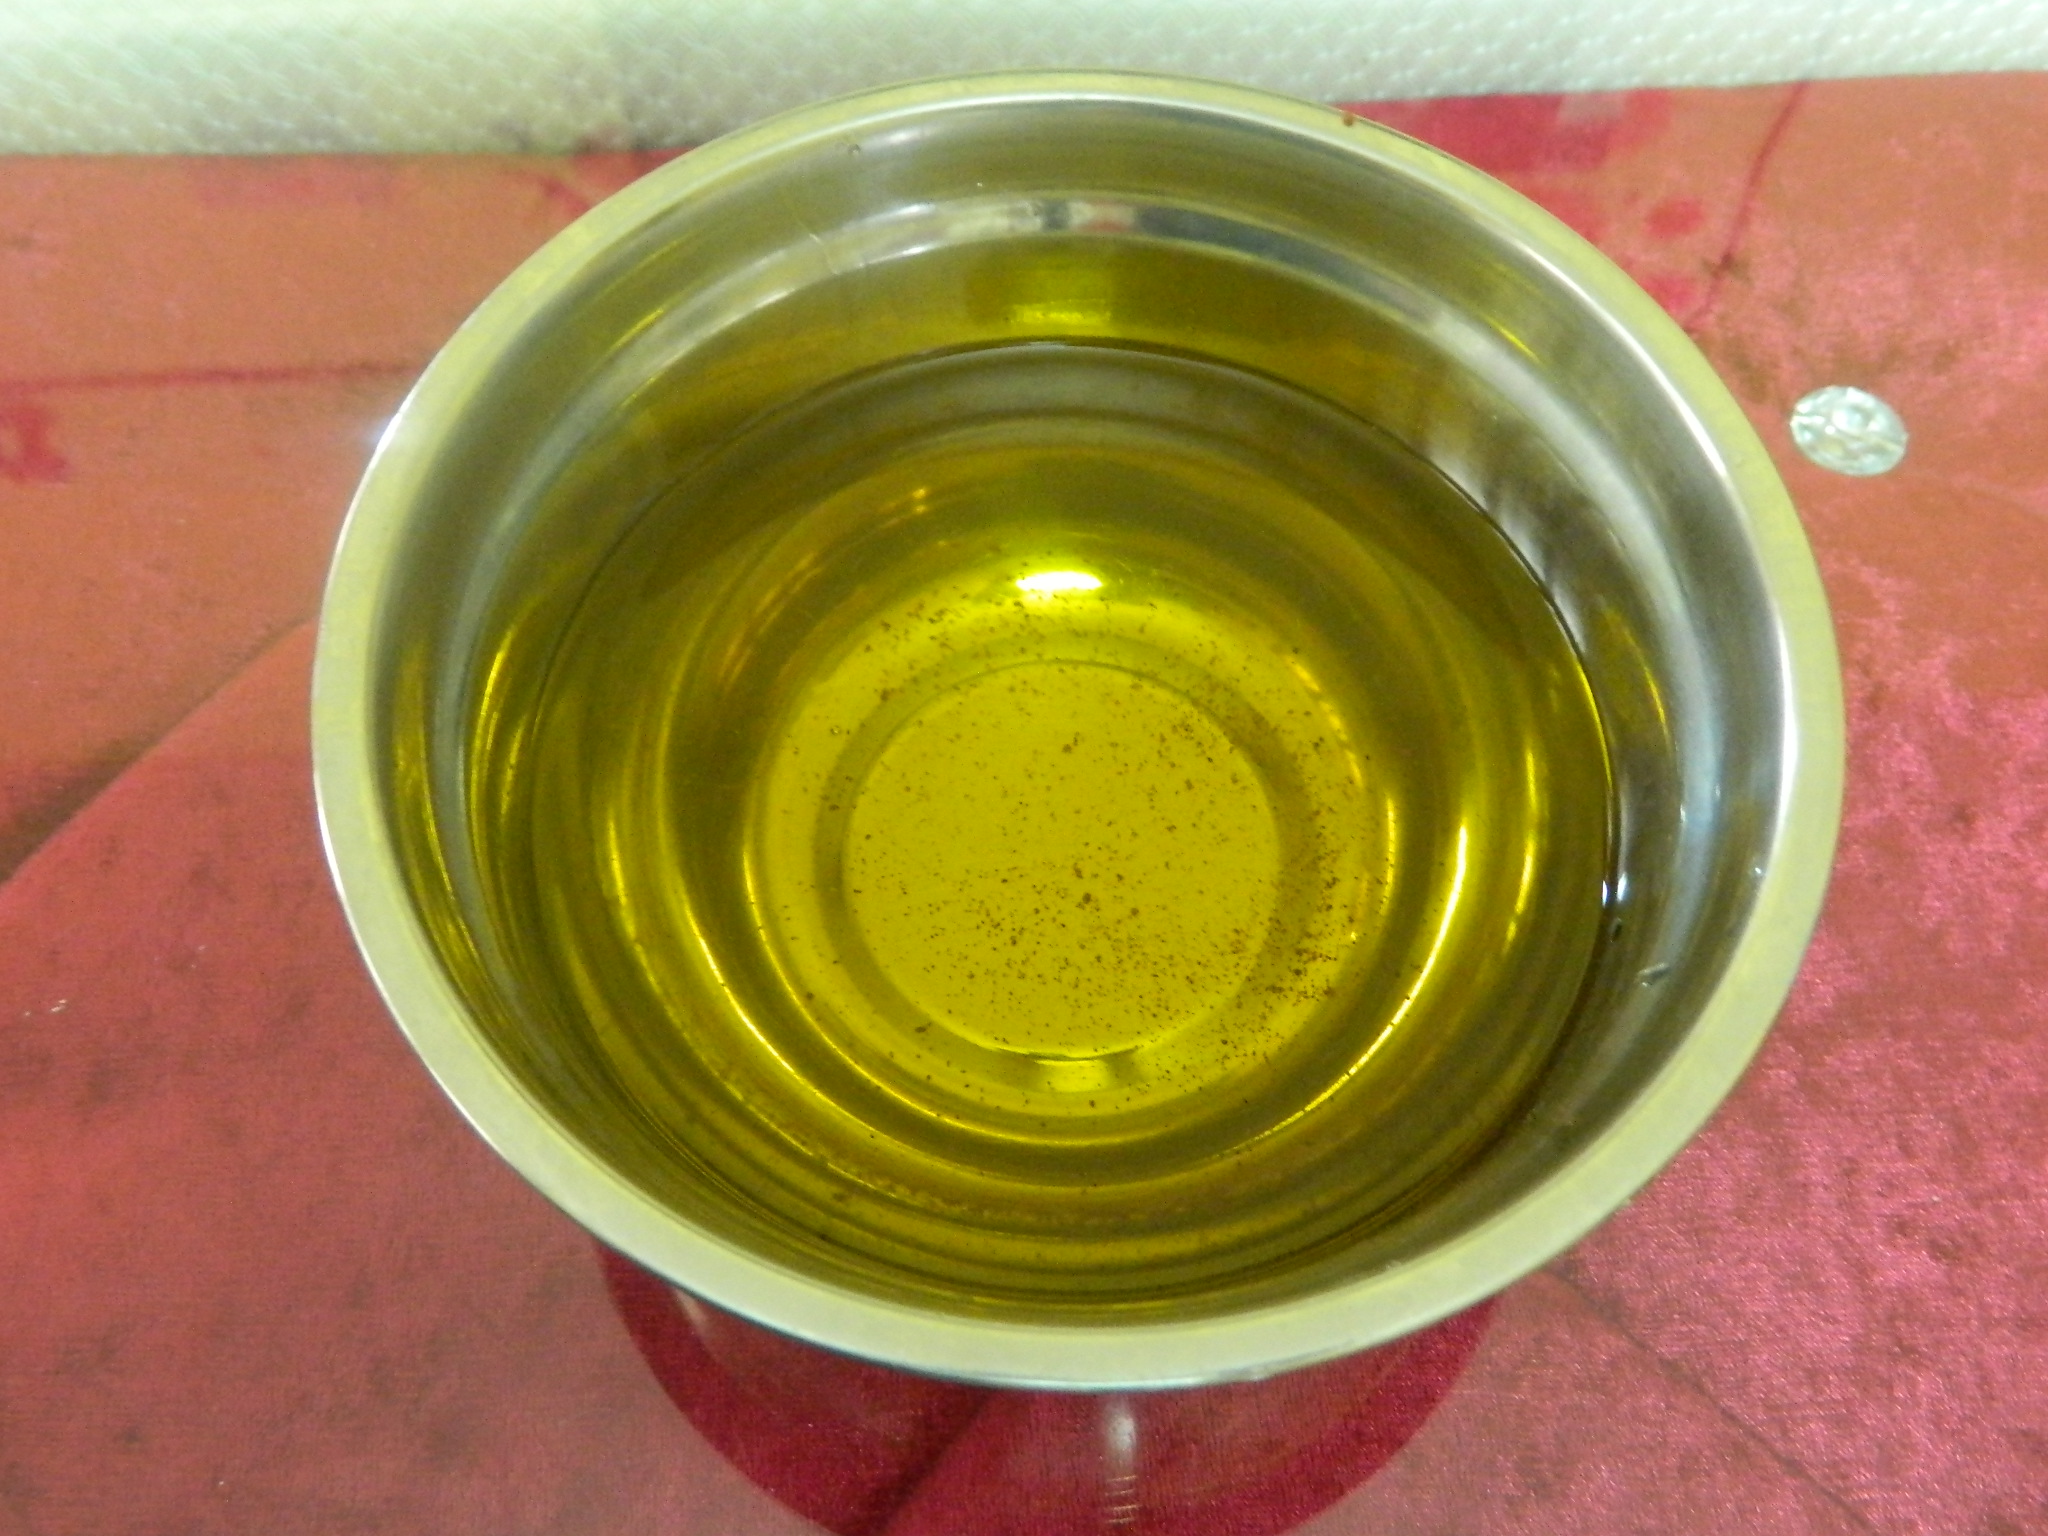
Butter will start foaming for second time. Now ghee is ready to be strained.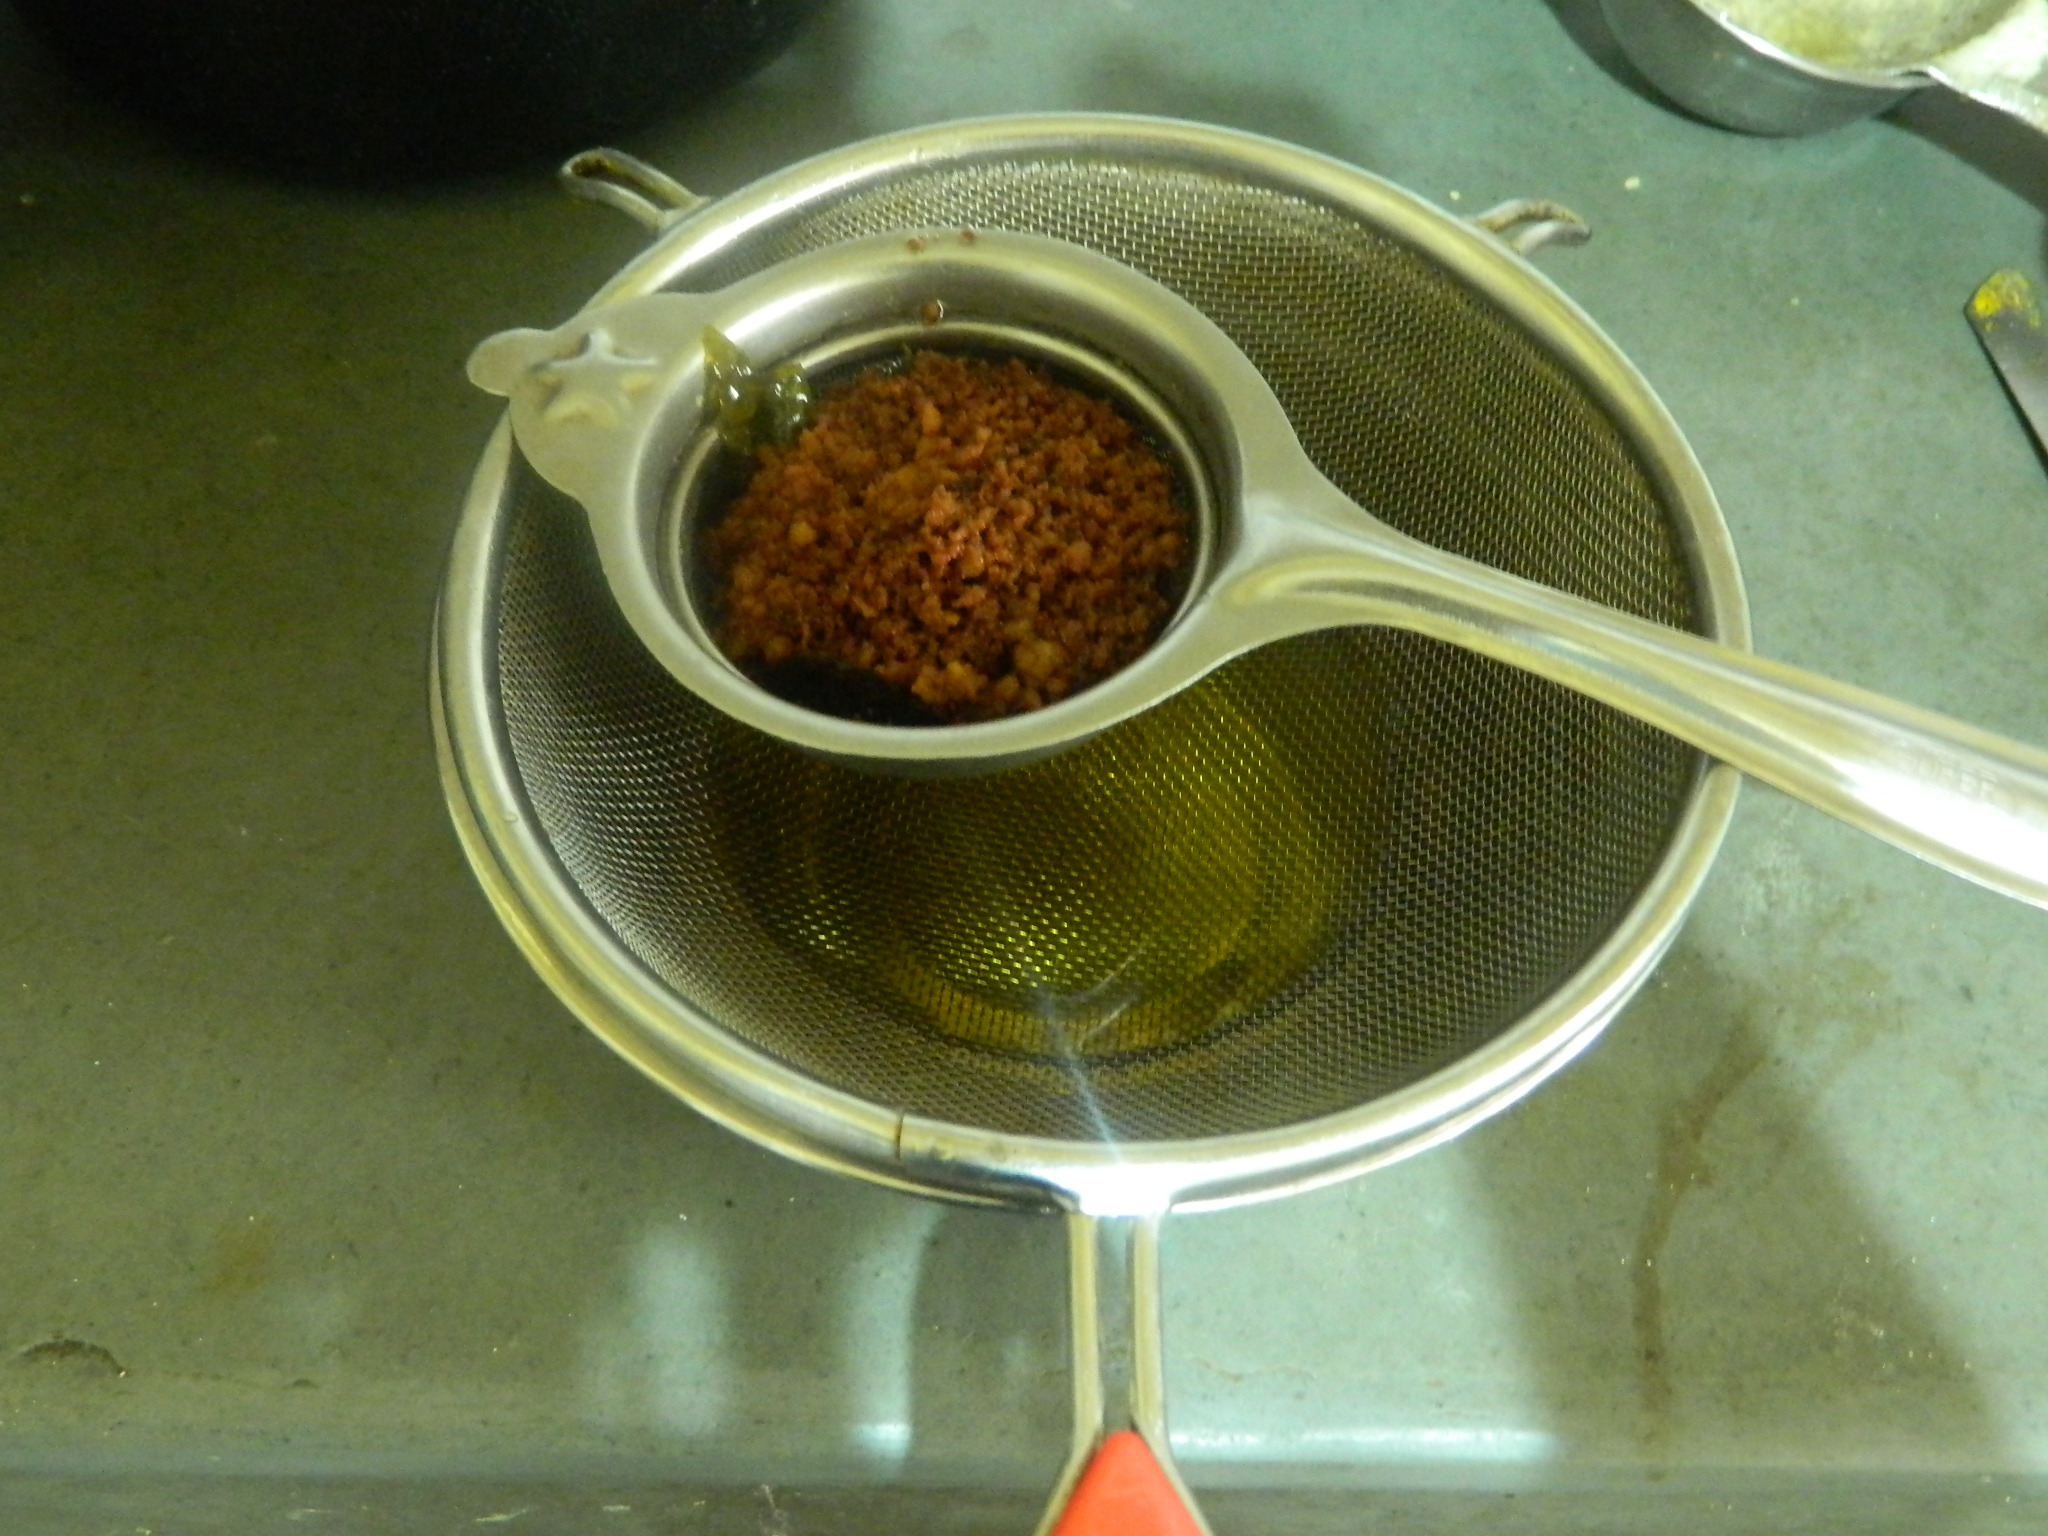
Step 4
Let it cool at room temperature, strain and keep in a air tight container.
- Add 2 tablespoon of yogurt in a large utensil and keep collecting cream over 10 to 13 days from boiled and cooled milk.
- Make ghee in low or medium low flame to avoid burning.
- Many people do not like the smell of home made Ghee. My family literally feels intoxicating. Adding drumstick leaves or curry leaves makes the ghee more flavoured and helps to stay for a longer time. Try not to keep cream for longer time.
- Just add 2 tsp of lemon juice while making ghee to kill the smell.
- I use two sieves one inside other to strain ghee into ,you may line your sieve with several layers of muslin cloth and set that over a large bowl, its good if you can have a bowl with pouring spout to pour your ghee into storing glass jar.
- Ghee is butterfat without the lactose and casein so it’s beneficial for people who are lactose intolerant.
- Ghee usually have long self life(8-10 no months)but discard it in case of change in physical appearance and smell. Try to consume homemade within three months, if quantity is more, better to store it in a refrigerator. You can also take out some quantity of ghee in a small container for daily use. Make sure to keep it in a cabinet, away from direct light. Ghee stored in air tight containers have longer self life. They need not to be refrigerated, just keep it in dry and cool area of your kitchen.

